
How to Place and Maintain Sampling Valves on Brewery Tanks
PAGE
By PAGE Editor
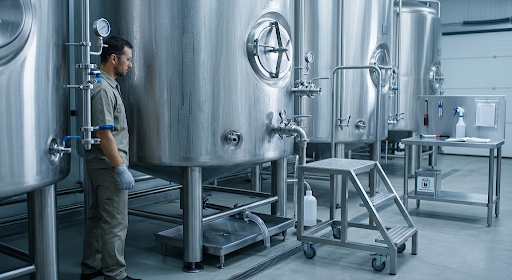
A sample valve should provide a representative sample without creating a hard-to-clean pocket or forcing an operator into an awkward position. Its location, valve type, and cleaning method affect the reliability of fermentation and quality measurements. Plan sampling as a routine operation when designing a tank, not as a fitting added wherever a spare port remains.
Choose a representative location
Decide what the sample is meant to measure and at what stage. A sample drawn near settled yeast or a trub layer may not represent the bulk beer. A valve high above the normal liquid level may be unusable on small batches. Review working volumes and racking arrangements before fixing the port height. Ensure staff can reach the valve safely while holding a sample container.
For a pressurized tank, the sampling procedure must control pressure and flow. Sudden discharge can splash hot or carbonated liquid. Follow the valve and vessel makers' instructions, and provide a safe drain or collection point. Do not use a sample valve as an improvised pressure relief device.
Make the valve cleanable
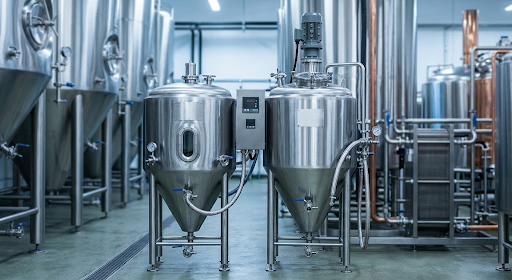
Inspect the wetted path, seals, and any recesses where beer can remain. Choose a design compatible with the brewery's cleaning procedure. If the valve requires manual disassembly, give staff the clearance and tools to do it. Mark replacement seals clearly; a valve with a new gasket of the wrong material may leak or trap soil.
Establish a sample procedure that covers preparation, first flow if required by the approved method, collection, and cleaning afterward. A laboratory result is only as good as the sample that reaches the lab. If operators use different containers or rinse practices, results may vary for reasons unrelated to the tank.
Verify after installation
Walk the process with a filled or safely simulated tank. Confirm that the valve is accessible, drains as intended, and can be cleaned and inspected. Compare a sample from the valve with another approved sampling point when appropriate; a consistent difference may indicate location or procedure bias. Record the valve ID and maintenance history.
When specifying fermentation tanks or brewery tank fittings, request port orientation and sample-valve details on the drawing. The best fitting is one that produces useful data repeatedly without compromising sanitation or operator safety.
Train for consistent sample collection
Decide whether the sample is for sensory review, gravity, pH, or microbiological testing. Each may need a different container and handling method. The procedure should name the correct vessel, valve, collection container, and labeling fields. A sample taken from the wrong tank can produce a convincing but irrelevant result. If a line must be flushed before collection, define that step and how the liquid is disposed of safely. Avoid long open transfers or containers placed on a dirty floor.
Record the sample time relative to fermentation or transfer. A number without that context is hard to interpret. If a result is unexpected, retake a sample using the controlled method before changing the batch process.
Investigate a recurring valve problem
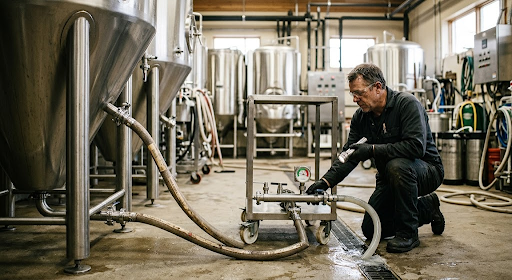
If a valve sticks, leaks, or leaves residue, inspect its seal, seat, cleaning access, and use pattern. Replacing the seal may help, but a poor port orientation can allow liquid to remain even with a new part. Keep a small set of approved spares and a maintenance log by valve ID. If staff avoid a valve because it is difficult to reach, the brewery may lose a useful quality check. The right fix may be a safer platform or a different location on the next tank purchase.
Match the valve to the sample purpose
A brewer tasting a fermenting beer and a laboratory taking a microbiological sample may need different preparation and containers. Write separate procedures where the risk differs. Identify whether a sample is taken before or after rousing, transfer, or carbonation, because that context can change the result. A valve near the cone may draw yeast-rich liquid that does not represent beer in the main tank. The chosen location should reflect the measurement's purpose rather than merely being convenient for fabrication.
If a tank is used at several fill levels, verify that the sample port remains below liquid for the smallest normal batch. If it does not, define another approved sampling point. Staff should not tilt a hose or open a manway to rescue an inaccessible sample without a controlled procedure.
Design the surrounding work area
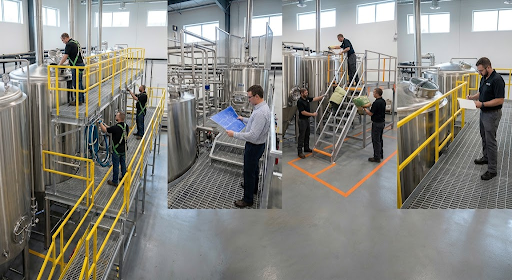
Provide enough room for a clean sample bottle and safe collection of any liquid discarded before sampling. A valve positioned over a motor, electrical box, or slippery walkway creates avoidable trouble. If an operator must reach around insulation or stand on a movable object, the port is not truly accessible. Consider a stable platform or an alternate orientation on the next tank. Keep a drain or collection vessel available so sampling does not leave sticky beer on the floor.
Keep data linked to the tank
Label samples at the point of collection with tank ID, time, product or batch, sample purpose, and collector. A row of unmarked bottles on a bench can invalidate otherwise careful laboratory work. If a result is unexpected, check the sample identity and collection method before changing the tank process. Trend recurring valve-related contamination or leaks by valve ID. That evidence can reveal a cleanability issue that a single isolated repair would miss.
Compare sample results after a change
If a valve is replaced or moved, collect paired samples from the new port and the prior approved method during a stable process stage. Compare the results using the brewery's quality criteria. A difference may indicate that the new port draws from a different layer, that the sampling preparation changed, or that the old method was inconsistent. Do not discard the comparison merely because the hardware looks sanitary.
Document the new procedure with a photo showing the valve, container position, and safe drain path. A visual instruction can prevent a new employee from sampling from the neighboring CIP port or using an open container in the wrong place. Review it after the first few production batches and adjust if operators report recurring leaks or access difficulty.
HOW DO YOU FEEL ABOUT FASHION?
COMMENT OR TAKE OUR PAGE READER SURVEY
Featured
A sample valve should provide a representative sample without creating a hard-to-clean pocket or forcing an operator into an awkward position.