
Backyard Cold Plunge and Sauna Pairing: A Design Guide
PAGE
By PAGE Editor
Most people buy the sauna first, pick the plunge second, then figure out where they go. Nine times out of ten that order leaves a slab, a drained tub, and a yard that no longer works. Pairing is the actual design problem, and almost nobody solves it before they sign.
The good news is that a good pairing comes down to three moves: sequence the zones, size the heater against the plunge, and plan the water before the deck. If you're sketching a formal build, start with a professional who installs outdoor sauna in Utah and can walk the site, because flat yard placement, power drops, and drainage are all decisions you make once.
Here's what most pairing guides skip. The sauna and the plunge don't just sit next to each other. They form a single loop with two stops, and every dimension on the plan has to respect that loop. Get the loop right and the yard feels twice as big. Get it wrong and you'll spend your first winter walking a wet path across the lawn.
Why the pairing fails when you buy the pieces separately
The most common mistake I see is buying a finished tub, then discovering the sauna heater won't hold temp once it's sitting three feet from open water. A sauna that can't maintain its heat in a wet corner isn't a sauna anymore. It's a warm room with a view.
You need to think about the loop in the same way you'd plan a kitchen: work happens in zones, and the path between them should be short, dry, and obvious. Your plunge needs water, drainage, and space to climb out on footing that isn't slippery. Your sauna needs to breathe, and it needs a buffer from splashing. When you place both on the same sketch at once, those needs resolve against each other. Bought separately and pushed together, they fight for the same few feet of perimeter.
Should the plunge sit inside the sauna footprint or beside it?
Beside it, almost always. The plunge deserves its own structure or at minimum its own covered deck, because splashing and runoff are going to happen, and a sauna that takes on water ages like a wrecked boat.
My pick is an L-shaped deck: the cabin on one arm, a short walk to the plunge on the other, with an awning between them. It costs less than a separate covered structure, and it forces a natural walking rhythm you'll use every session. You step out warm, walk six steps, and plunge, with nothing to trip on and no reason to rush.
Leave at least three feet of clear deck between sauna door and plunge rim.
Slope or drain the plunge deck so runoff never creeps toward the cabin.
Add a grab rail on the entrance side you'll actually use.
Run a light circuit so the path is lit in winter, not just in summer.
The Contrast Cycle: an order of use you'll actually follow
Most pairing advice stops at placement. It should start with use. Here's the framework I recommend, which I've named the Contrast Cycle, and you'll want to copy it onto your build plan before you decide anything else.
Warm stage. Ten to fifteen minutes in the sauna, seated, door shut.
Transition. A cool-down walk on dry footing, sixty to ninety seconds. This is where poor layout shows up first.
Cold stage. A brief plunge, then out. Keep the exit path unobstructed.
Reset. A short rest on a dry seat away from the plunge rim before round two.
If your plan can't support all four stages without someone stepping in a puddle or scraping past a railing, the plan isn't finished. I'd rather you shrink the cabin and widen the deck than build a gorgeous sauna with a plank of a pathway beside it.
Heater sizing, wood choice, and the winter reality
Now the part people underbudget. Heaters on outdoor builds tend to run larger than indoor ones, because an outdoor cabin has to push back against real cold. The U.S. Department of Energy publishes baseline guidance on weatherization and home heating loads, and the same principle applies: your heater is fighting the building envelope, not just the temperature. That argues for better insulation and a tighter cabin before you argue for more kilowatts.
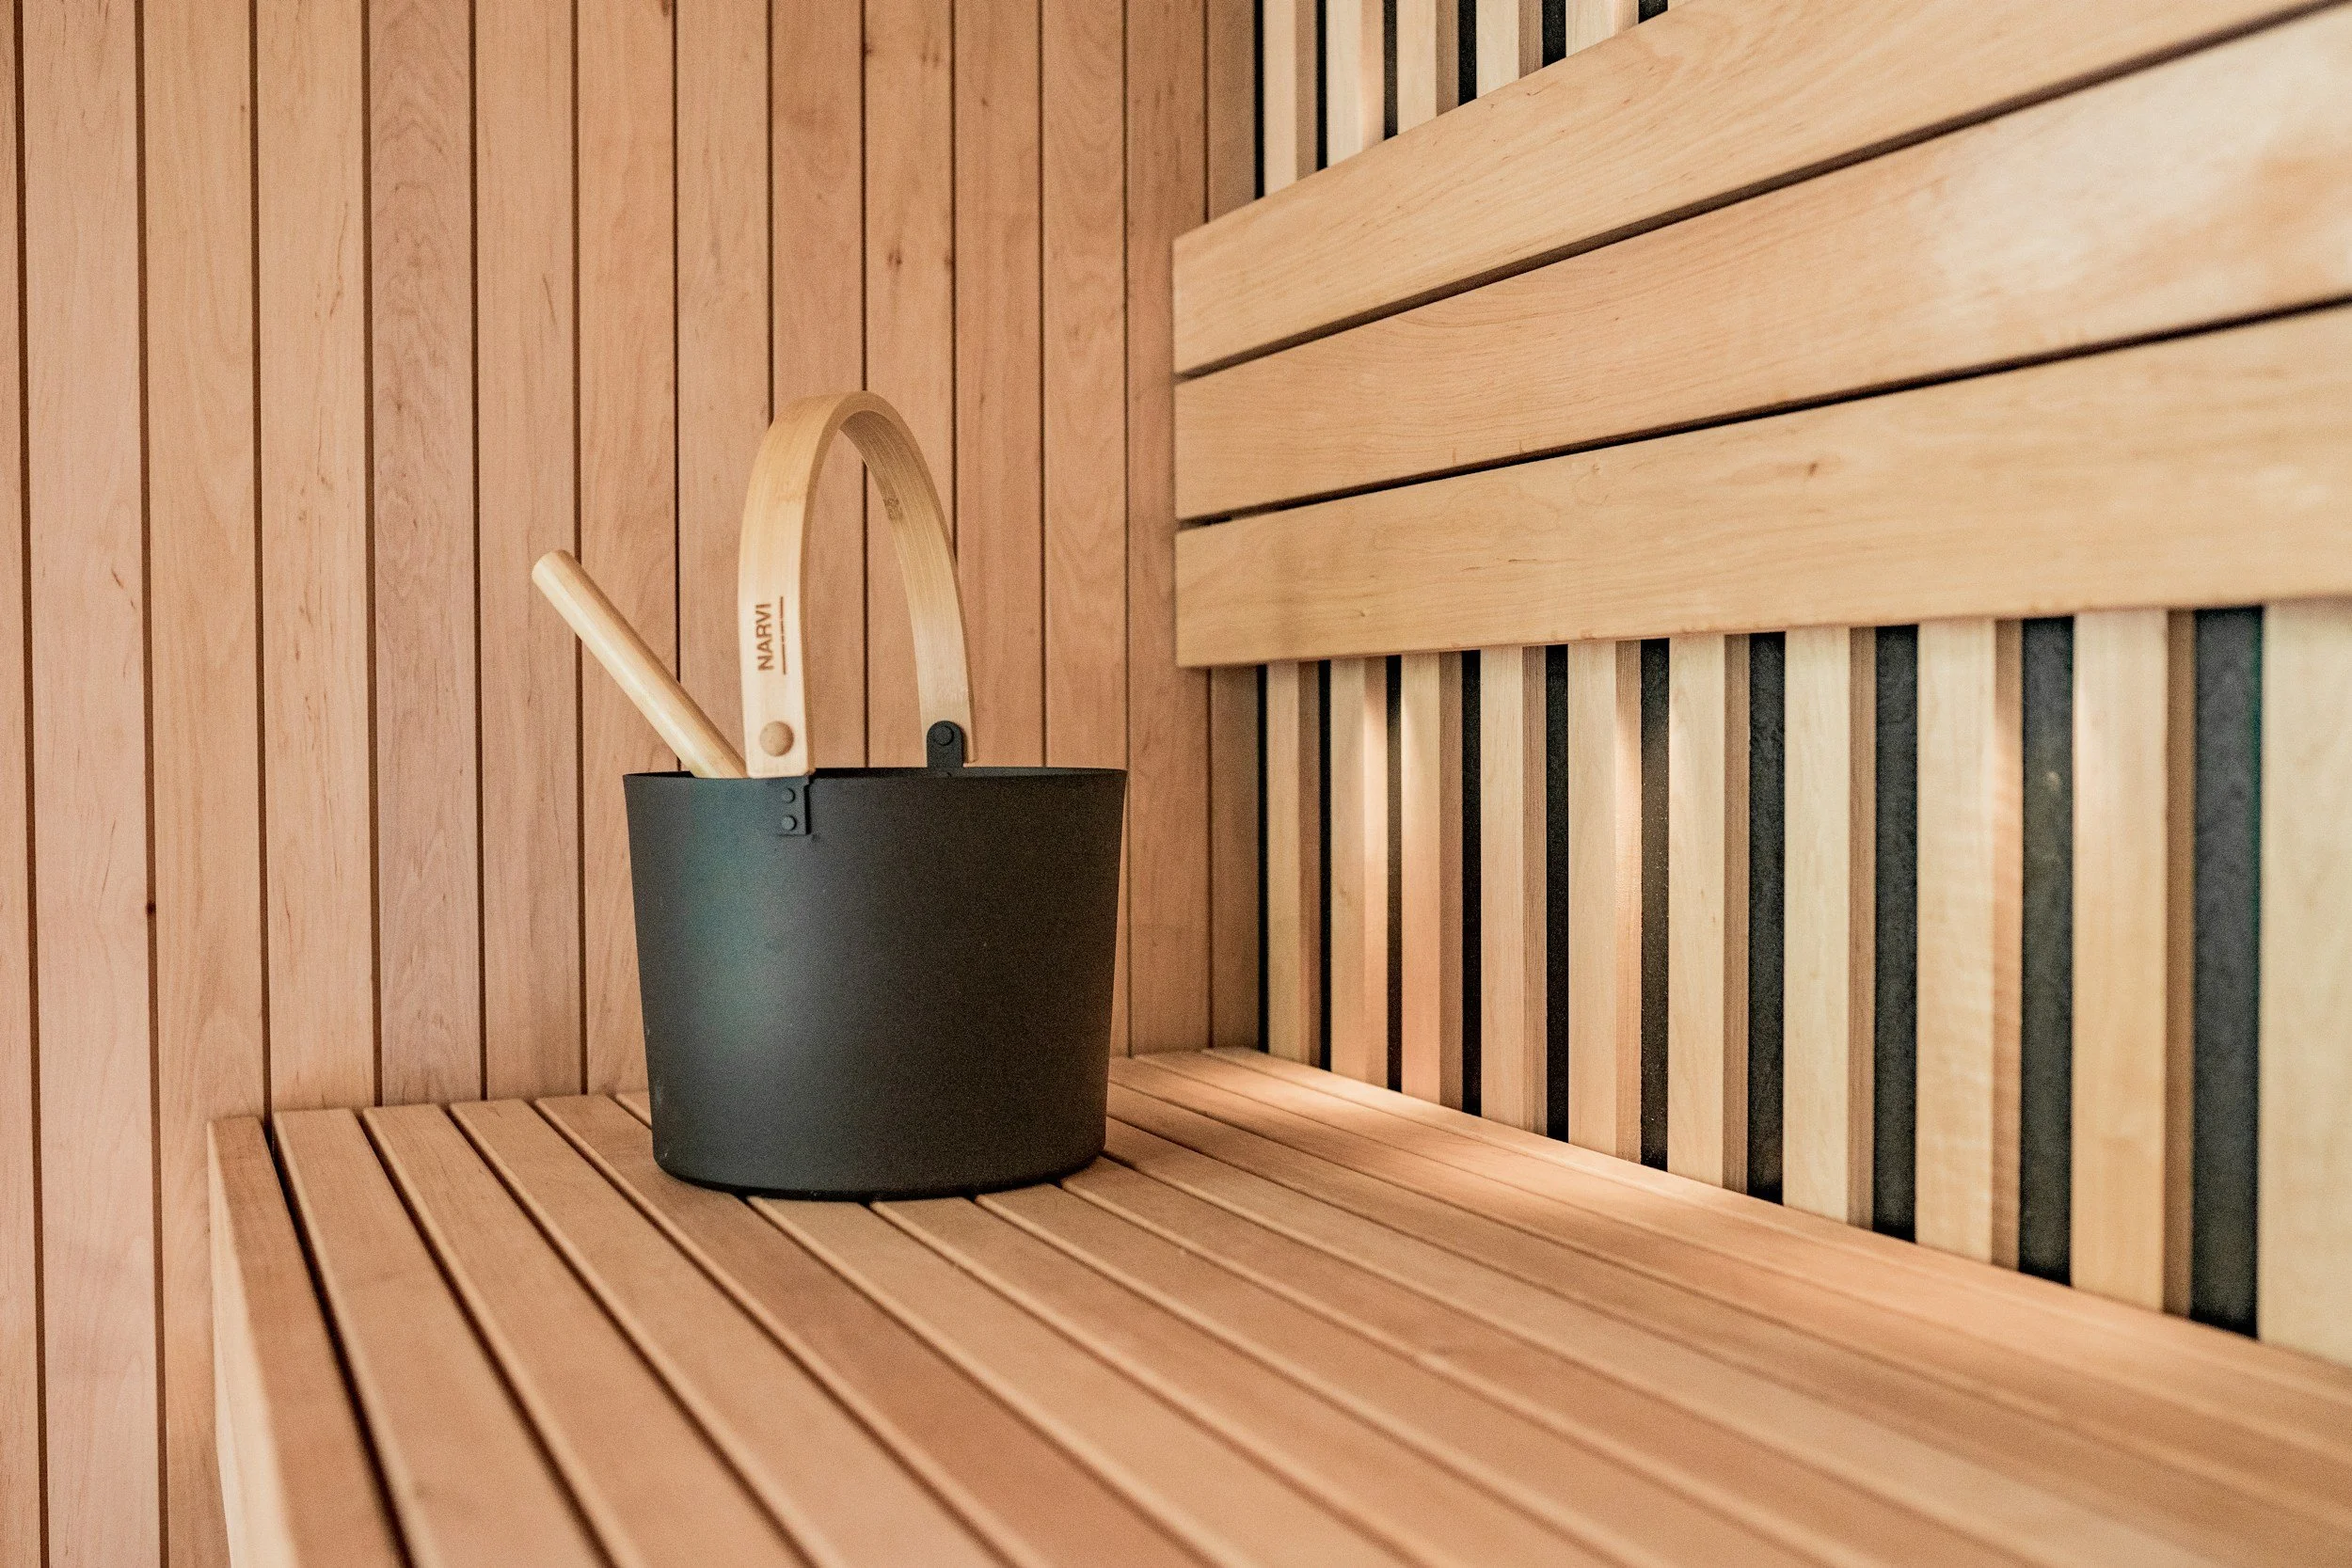
Wood type matters for a different reason. A cedar interior smells great and holds up well with regular dryness, but it's harder to keep dry in a wet corner. I'd put cedar high on the wall panels and pick a linear material near the floor where any splash lands. Either way, add a vent and a base that can survive a damp spring without announcing it five years later.
A real scenario from the Weber River
Picture a yard above the Weber River with a grade that drops six feet from the house to the fence line. The homeowner wanted a six-person cabin, a plunge, and a fire pit, in that order, on a yard that would fight all three. We flipped the order to fit the land. The plunge went at the high corner, the sauna on a modest deck at the low end, and the fire pit into the flat between them. The cabin is roughly four feet smaller than the original ask, and the loop is maybe twenty feet end to end.
They've told me since that the shorter walk made the whole thing feel less like a project and more like a habit. That's the trade I'd make every time. You give up a little square footage in the cabin and get back a yard that works in January.
Permits, water, and the boring details that ruin budgets
Outdoor water features and heated structures often fall under local permitting rules, and rules vary block to block. Call your county building office before you finalize the layout, not after. Ask three specific questions: does the plunge need a permit as a water feature, does the sauna need an electrical inspection beyond the deck, and does your lot require a setback from the property line.
If you're near public land or a river corridor, check whether a setback or floodplain rule applies. The National Park Service keeps public reference material on riparian buffers and land use that's a useful starting point for questions to bring your local planner. Bring photos of the site, a rough dimension sketch, and your electrical plan. Bureaucrats are much easier to deal with when you hand them a page instead of a question.
What to budget, in order
Spend on the loop first, then the cabin, then the finishes. Foundation and drainage money disappears into the dirt and nobody compliments it, but it's what keeps the pairing working after the second winter. If your budget is tight, drop the built-in speakers before you drop the deck drain. You'll thank me in March.
Finally, decide who runs the water side. Someone has to swap it, treat it, and cover it in a freeze. If that person isn't clear before the build starts, it won't be clear afterward either.
You don't have to build the whole yard in one season. Sketch the full loop, install the cabin this year, and phase the plunge and the deck next. The layout will hold, and you'll get a feel for the walking rhythm before you commit the concrete. What would the Loop look like in your yard if you drew it today, before you buy anything?
HOW DO YOU FEEL ABOUT FASHION?
COMMENT OR TAKE OUR PAGE READER SURVEY
Featured




Picking a cold plunge and sauna is easy. Making the pair work together takes layout, water access, and a clear order of use. Here is how to plan it.